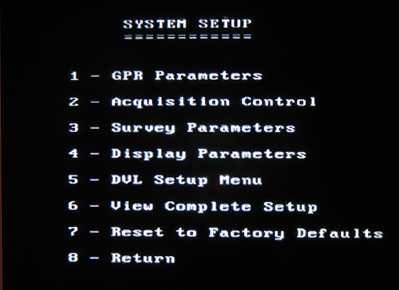
Press 2 in the Main Menu to go to pulseEKKO PRO System Setup Menu.
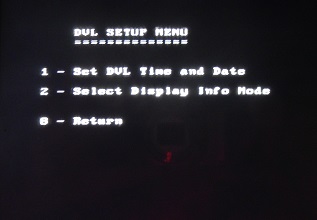
pulseEKKO PRO DVL Setup Menu
Press the 5 button to access the pulseEKKO PRO DVL Setup Menu. This menu is important to the user if the time and date are wrong. Note that the date and time are saved with data files. To maintain good records, all information should be correct. Therefore, if the time and date are incorrect, change it in this menu.
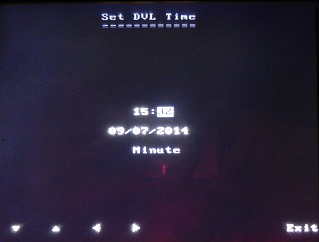
Set DVL Time and Date
Use the Right and Left Arrow keys to toggle between hours, minutes, month, date, and year. Use the Up and Down buttons to change the values.
When the desired date and time are set, press the Enter button to save the changes. Future data files will now have the correct time.
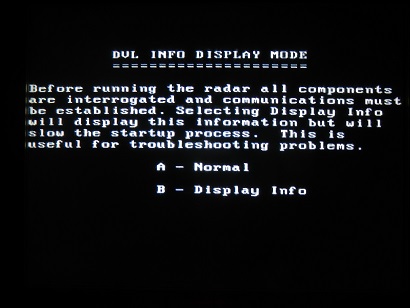
Select Display Info Mode
Determine what information will be displayed upon the start of data collection. There are two options: Normal and Display Info. With the Normal option, a minimum number of messages are displayed. In the Display Info option, a detailed message about every system interaction is displayed. In reality, the Normal option is probably optimal for 99% of users but no harm will be done if the user decides to view the more detailed message.
Some versions of firmware include these two options:
Set DVL Transfer Mode
If using the PXFER cable to transfer data, select Normal or Turbo depending on which cable is being used. Most rental companies suggest transferring data with the compact flash drive by setting the data storage drive to removable in the File Management Menu.
Set DVL in Upgrade Mode
If upgrading the DVL with the PXFER cable, wait until the computer asks the user to enter this mode. The DVL will then wait for an upgrade. Once in this mode, the DVL cannot leave this screen unless power is disconnected. Most likely, a GPR renter will never have to do this process.


