The Noggin Plus Utility Menu
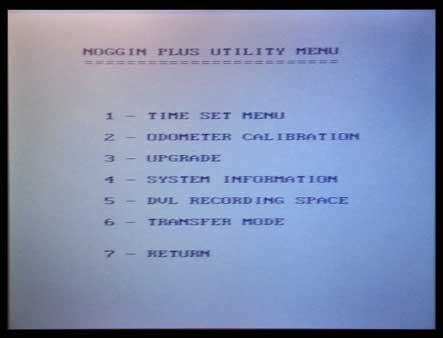
is accessed by pressing 4 on the DVL’s Main Menu. The Noggin Plus Utility Menu will appear, allowing the user to modify settings related to the Noggin Plus operating system. Utilities that are especially useful to the user include setting the time-date and calibrating the odometer.
Press the appropriate button in the Noggin Plus Utilities Menu to select an option.
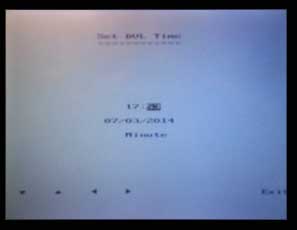
1 – Time Set Menu
The correct time and date are important because these values are used to time stamp the data files. If the time or date are not set correctly for an area, change the values here. Use the Left and Right Arrow keys to move between the fields. Use the Up and Down Arrow keys to increase or decrease values. When the desired date and time are set, press the Enter button to save the changes. Future data files will now have the correct time.
2 – Odometer Calibration
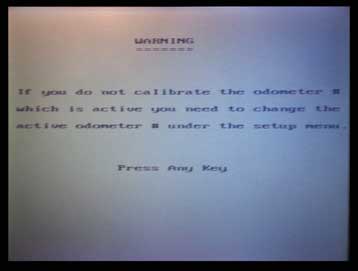
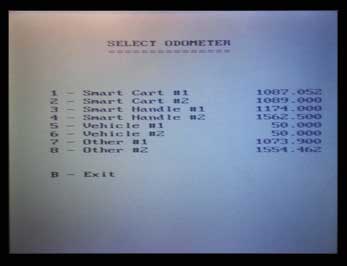
It is important to calibrate the odometer via the Noggin Plus Utility menu before a survey. For a new user, this is probably the number one mistake besides misunderstanding the relationship between how velocities are used with time to calculate depth. Select the type of odometer to calibrate. Note which odometer is picked and enter this choice in the survey settings. Unless changing odometers, the active odometer setting may be correct, but do not assume it is. When using the SmartCart, select a SmartCart Odometer. If a vehicle is being used to pull a cart and the transmission odometer is triggering the system, select a Vehicle Odometer, usually #5.
Next, determine how to input an Odometer Calibration Value. Either manually enter an Odometer Calibration Value or calibrate the odometer over a distance. Entering an Odometer Calibration Value may be adequate if calibration of the odometer and wheel set has been completed in the past over similar site conditions. However, it is recommended that the user takes the time to calibrate the odometer over a known distance and current site conditions.
After deciding to calibrate the odometer over a known fixed distance, choose from one of eight predetermined distances or press the A button to enter a user defined distance from 0.01 to 5000 meters or 0.01 to 26400 feet. Use the B button to display in either feet or meters. The longer the calibration line, the more accurate the calibration will be. Remember, if the odometer is off then the distances will be incorrect and will get worse as your line becomes longer. Use a tape or measuring wheel to accurately measure the desired distance over typical site conditions.
Once the calibration distance is set and the SmartCart is at the necessary beginning point of the line, perform the following two tasks:
1. Set the odometer to zero. Press A to begin
2. Push the cart along the line until you reach the end point. Press B to save the Odometer Calibration Value. Press A to exit.
SmartCart Odometer Calibration Values are often about 1080. However, it can vary quite a bit over different surfaces where the traction or site conditions are not ideal. Using the same calibration value will generally yield a slightly longer path over a bumpy surface than a smooth surface, like paved asphalt. One suggestion as how to start and end a calibration run is to disregard starting and ending the calibration line from center of the antenna. Often it is easier to start with the center of the front axle at 0 and end with the center of the front axle at the end point. In other words, use an easy reference point on the SmartCart to measure the desired distance.
3 – Upgrade
Today, this option of the Noggin Plus Utility menu is seldom used. If the operator uses the Compact Flash Drive to update the DVL firmware, this option can be ignored. However, if operator uses the PXFER cable to update, this option is required so that the DVL will allow a software upgrade to be transferred from a computer.
It is important to not select the Upgrade button until the software on the computer asks at the appropriate time. To exit from this menu, disconnect the power from the DVL.
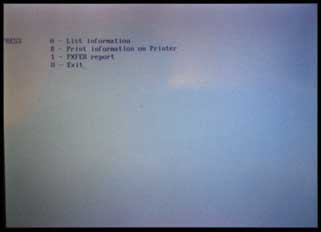
4 – System Information
List, print, or transfer the system information of the DVL to help with troubleshooting. This information can be shared with Sensors and Software, the manufacturers of the DVL, Noggin software, and SmartCart equipment.
If the user lists the information, it will appear on the DVL screen. To print the information, a printer must be connected to the parallel port on the back of the DVL; press B. To transfer the information file to the PC, connect the PXFER cable to both the DVL and computer; press 1
Note: Sensors & Software technical support may ask for this information. Therefore, it is important to either know how to print and fax this report or transfer it to a computer to send in an email.
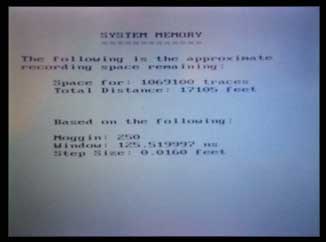
5 – DVL Recording Space
This option will display the total number of traces and total distance of data that can be collected before the DVL memory is full. It is important to understand that the number of traces and distance is dependent on the current settings. In other words, changing the settings will alter the amount of DVL Recording Space. A good practice is to periodically transfer your data to the computer via compact flash card and delete the memory so there is no need to worry about the available storage space.
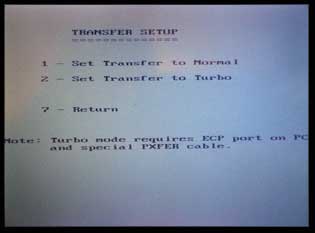
6 – Transfer Mode
These days, this option is not used with a DVL III or newer version DVL. If transferring with a cable as opposed to the removable compact flash drive, the user will need to set the transfer mode to Normal or Turbo depending on the type of PXFER cable. The Normal cable is identified by being a solid grey cord whereas the Turbo PXFER cable is a grey cord but has a band around the end.
7 – Return
Exit the Noggin Plus Utility menu by pushing #7. This will Return to the Main Menu.
